


Common Transmission Adapter Issues and How to Fix Them
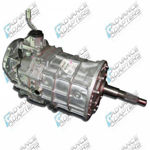
A transmission adapter kit is often needed when changing the transmission, engine or transfer case in your 4WD vehicle. Since they can only pair with so many other components in factory form, an adapter allows you to fill the gaps and run the combination you want.
But solving this problem can lead to others during installation. The experts at Advance Adapters have identified the three biggest transmission adapter issues and what you can do to address them so your upgraded ride runs smoothly.
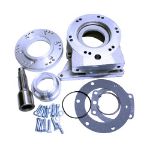
1. Bellhousing isn’t Aligned
A misaligned bellhousing and shaft can cause serious problems on any vehicle, including vibrations, hard shifting and premature wear. It also can push the input shaft and crankshaft out of whack, leading to further issues such as engine damage and clutch failure. Alignment problems may even void the warranty on certain transmissions. Problems with alignment are more common when using adapters because you are trying to work aftermarket parts around the factory floor and transmission tunnel configuration.
To prevent this, use a dial indicator and magnetic base to check whether everything is matched correctly. The block plate and flywheel should both be installed and torqued properly before measuring. If the needle movement is more than 0.01 inches, use offset dowel pins to center the bellhousing. Some trial and error may be needed.
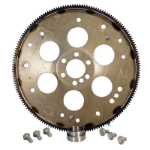
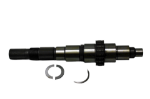
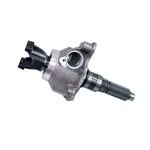
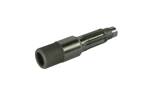
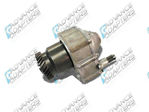
2. Torque Converter isn’t Properly Seated
A torque converter that isn’t seated correctly can come off the splines and damage the transmission pump — and the converter, too. You can tell whether the converter is seated by inspecting it. You should not be able to fit your fingers between a correctly seated torque converter and the bellhousing. There should also be a 1/8-inch to 3/16-inch gap between the converter and the flex plate.
When installing the torque converter, start by lubricating the snout. Then gently slide it onto the pump splines, turn it clockwise until you feel two clunks, then turn a little more just to be certain. In some setups, you may need spacers to create the flex plate gap; check that you have the correct ones before installing. Once you have the transmission aligned correctly, you may need additional dowel pins to hold both it and the adapter plate in place.
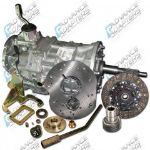
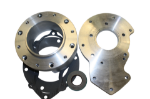
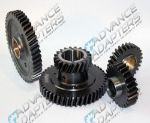
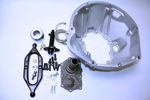
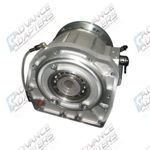
3. Using the Wrong Transmission Adapter Plate
The drivetrain is a precise setup that requires everything to be pretty much an exact fit — even small tolerances are known to cause big failures. When you’re connecting specific engines and transmissions, or transmissions and transfer cases, it all starts with the correct adapter plate. This is what directly joins the two and allows them to work together. Using the wrong plate or one made of inferior materials causes component shifting, power loss, sudden failure and other problems.
Advance Adapters transmission adapter plates are made from high-quality materials such as cast iron and aluminum. We also engineer and manufacture them so they fit the components they’re mating. The correct adapter plate is included with all kits we sell.