
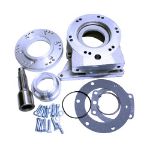

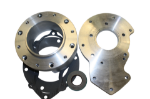

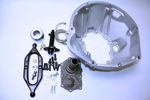

Tailhousing Adapters: On these late model, Jeeps (if retaining your stock transmission), Chrysler used an oil weep hole on the stock adapter housing. This weep hole was in one of two locations: on the adapter surface where the transfer case mates to the adapter, or on the bottom center of the casting near the crossmember foot. These weep holes were designed for informing you when the seal in the tailhousing would fail. The Atlas does not always have the same input shaft length as your stock New Process transfer case to make contact to this seal and the Atlas is double sealed in the front of the transfer case to prevent any fluid transfer. Therefore; we highly recommend plugging the weep hole using RTV Blue silicone (if on the adapter housing face), or RTV Blue silicone and a sheet metal screw (when located near the crossmember foot). This will prevent any type of fluid leak when installing the new transfer case.
The Atlas is designed with a seal and a sealed bearing on the input shaft. The reason for this is to prevent mixing of dissimilar lubricants. Whether this is a stock transmission adapter or special transfer case adapter, gearbox contamination should not be a concern.
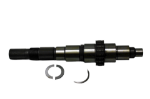
On some stock transmissions, most notably the Peugeot (21 spline), the AW4 (21 spline), and the late model Cherokee 23 spline transmissions A518 (46RH) & A500, you may have a spline engagement problem. If the splines bottom out before the two mating surfaces meet, you may be required to use a spacer adapter. NOT force these components together.
Speedometer: These vehicles utilized the same type of speedometer housing in the stock New Process transfer case. The Atlas was designed to accept the stock New Process speedometer housing. If your speedometer is correct (regarding tire size and axle gear ratio) the stock speedometer will not change. If you plan on changing tires or gear ratio, please use the Speedometer Charts located in this manual. The speedometer housing is retained into the Atlas with a metal clip. When the housing is installed into the Atlas tailhousing, the speedometer housing should be rotated clockwise or counterclockwise until the speedo gear meshes with the Atlas output speedometer gear. The new seal kit you received with your Atlas should be installed to prevent any fluid leakage.
Transfer cases like the Rock Trac 241 use a sensor rather than a speedometer housing. The speedometer housing found on the NP231 will generate the same signal as the Rock Trac sensor. If you are replacing a Jeep transfer case that used a sensor and not a speedometer housing, then we can assist you with the correct parts to fit the Atlas transfer case and retain your stock speedometer.
Rotation & Oil: The two stock rotations of the New Process transfer case are 13 or 23 degrees. We recommend the Atlas be installed at either a stock or higher rotation. The recommended 2 quarts (2-speed Atlas) or 2-1/2 quarts (4-speed Atlas) of Atlas oil will be used. As mentioned earlier in this manual, if the Atlas is overfilled it will purge the excess oil out the breather tube. You should also replace the stock breather hose and restrictive vent.
The Jeep Cherokee "XJs" are also great platforms for offroad use. They are comfortable enough to be driven daily, yet rugged enough to warrant the Atlas.
Most the information in this section is based on a 1998 XJ. The XJ was equipped with a 4.0L 6 cylinder and a AW4 transmission.
The XJ model is very similar to the ZJ installation. Since the Cherokee is uni-body in design, the suspension had to be adjustable allowing us to dial in our pinion angles. This is crucial to obtain correct driveshaft angles when installing an Atlas transfer case. The XJ model Cherokee has a rear leaf spring & front coil design suspension system. If a lift kit is used on an XJ, make sure that you can shim the axle to obtain proper driveshaft angles. Any driveline vibration (due to improper driveline angles) will be very noticeable because of this uni-body construction.
Shift Indicator Switch: The Atlas was originally designed to accept the stock XJ shift indicator/modulator switch, however, In August of 2014 we updated the shift control module and the thread size and location for this switch was changed. Transfer cases ordered after August 2014 would need to upgrade to a cable designed linkage to engage the stock front axle or upgrade to an aftermarket one. If you are installing or a Atlas that has the provision for the vacuum switch, then this switch not only indicates the dashboard 4WD lights, but also activates the vacuum actuated solenoid for front axle engagement. When installing this switch into the Atlas, you must utilize the white nylon washer to obtain the proper spacing of this switch. (The .090" washer is installed with the indictor plug on the Atlas shifter housing). If your vehicle has a custom front axle, this switch can still be used - but for dashboard lights only. If you wish to omit this switch altogether, just make sure the indicator plug is secured in the shift indicator hole.
Crossmember & Body Modifications: The installation of an Atlas requires little or no body or crossmember modifications. The installation that we performed improved driveline angles, crossmember clearance, and ground clearance. The photos that follow illustrate the Atlas with a shallower than stock rotation. On some XJs, a full crossmember/skid pan was used. If this is the case with your vehicle, you may have some of the same modifications as shown in the TJ section. Most of the XJ installations that we have done have been performed using an Atlas 2 speed cases. When installing the Atlas 4 speed in an XJ, the atlas will be located further back and will require floor board mods and custom cross member mods to properly complete installation.
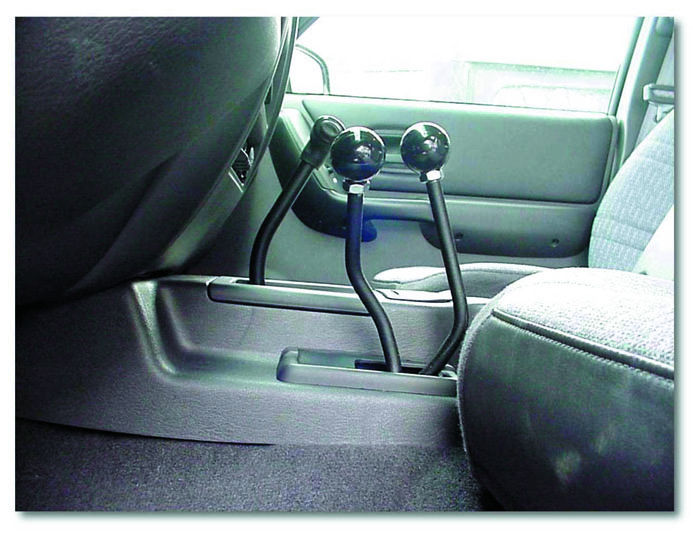
Shifter Installation: If your XJ does not have a center console, universal shifter 303000L is recommended. XJs with a center console should use 303007L.
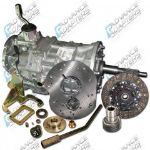
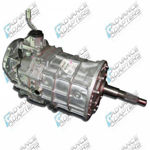
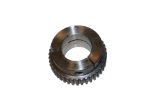
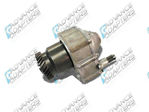
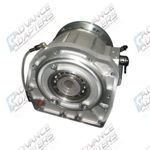
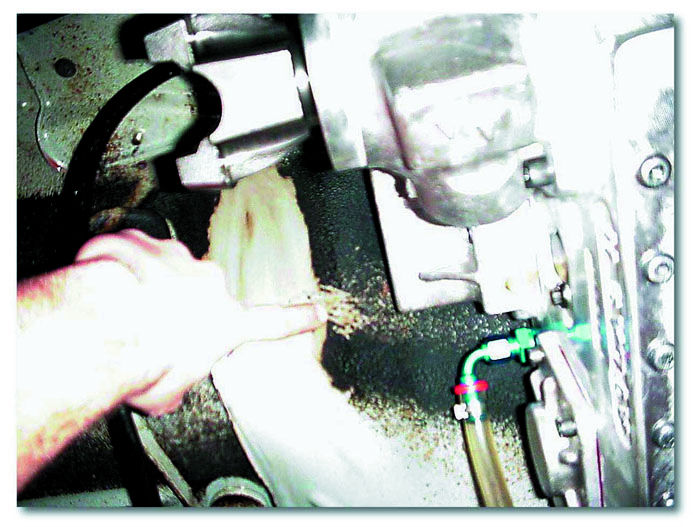
Rear view of the AW4 automatic.

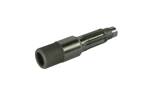
The stock output shaft protrudes .500" past the stock adapter housing. To achieve the proper spline engagement on the Atlas, a 1" spacer is required (Part No. AS-0404).
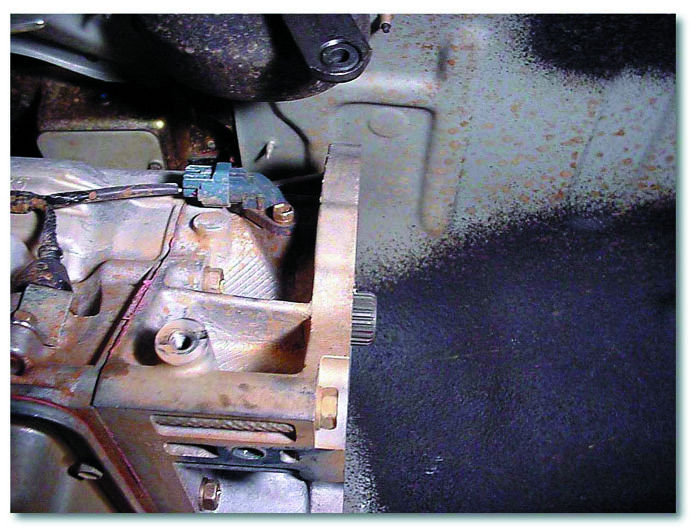
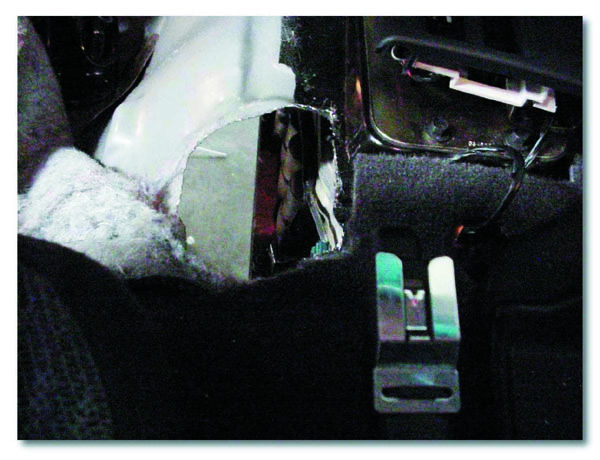
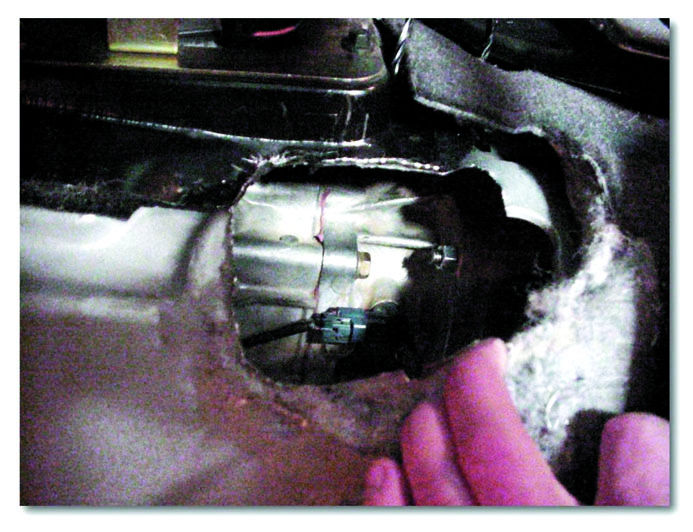
The photo shows the minor body modification made for clearance on the Atlas.
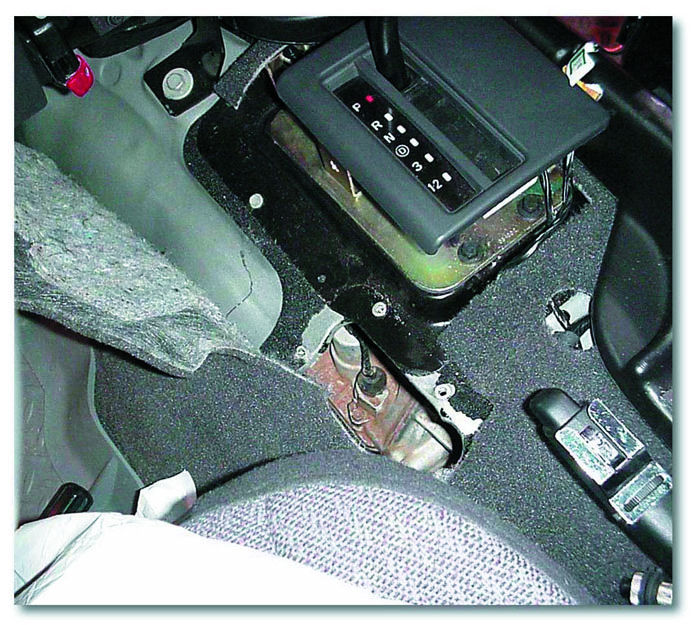
The stock console will require disassembly and the stock transfer case linkage will need to be removed and clearance.
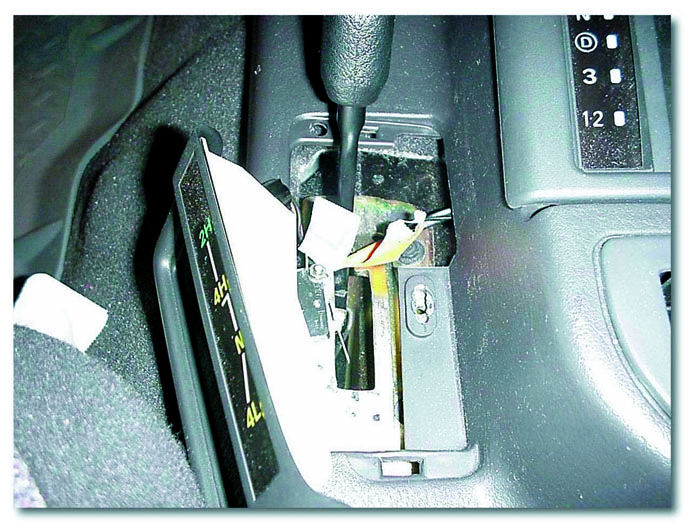
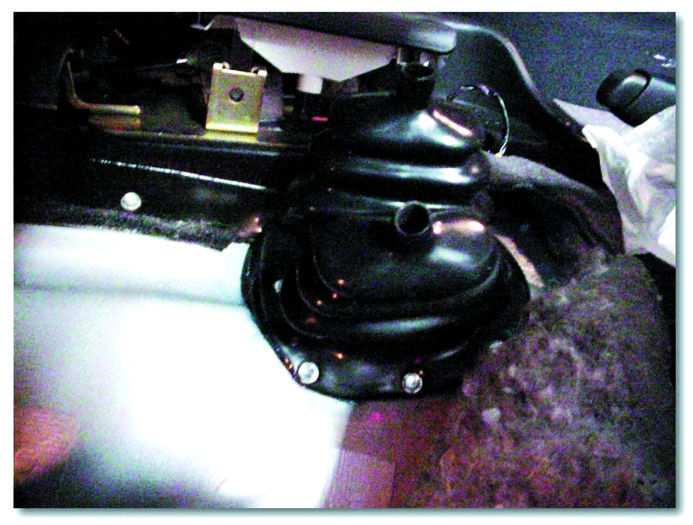
This photo shows the Jeep console removed and the transfer case linkage removed.
Floorboard modifications are necessary to fit the Atlas twin sticks. This photo shows 1" of material removed from the right side and front of the stock hole. (.500" needs to be removed from the left side)

Once the floorboard has been modified, it should look like the photo shown here.
Since the stock floorboard hole is longer than needed, we recommend using a piece of sheet metal to cover the rear 1" section of this stock hole.
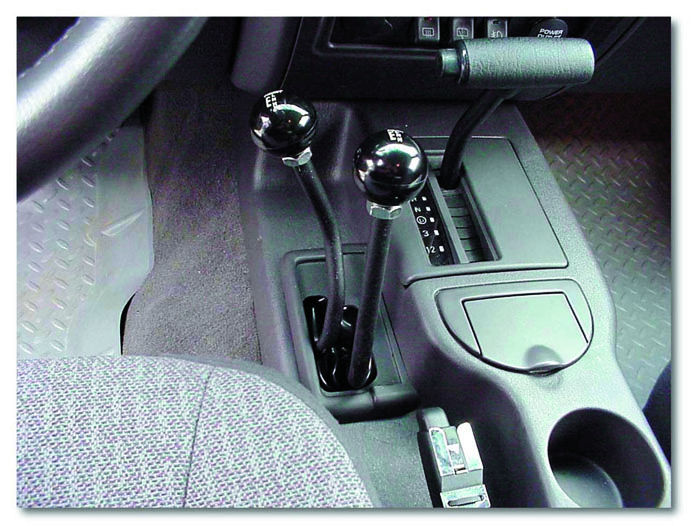
Test fit the Atlas shift handles. If proper clearance has been obtained, screw the rubber boot and ring to the floorboard. Note: The boot ring will need to be cut in half for proper fit to your floorboard.
Since the stock transfer case shift indicator cover will not fit with the Atlas twin-sticks, we modified this cover. Remove the indicator panel and cut the plastic that supported the indicator panel. Ideally, the plastic housing that snaps into the console is what your trying to retain. We purchased a small piece of black plastic from a local stereo installation shop and cut it to fit our plastic housing. We heated it to fit the contour and glued it into position. We then cut new access holes in the black plastic to fit our twin sticks.
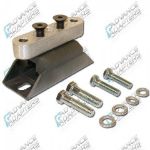
Shifter linkage upgrades: The connection rods for the Atlas were designed to be universal so they could be adjusted for the various drivetrain lengths. The stock linkage works well for the majority of applications and vehicles. The extreme racers and rock crawlers on the other hand were looking for a linkage that would withstand the abuse that they are putting their rigs through. The two kits offered are upgrades that work with the standard handles and use heim joints that are bolted to the Atlas linkage. Anyone can upgrade to this kit as it will work on all Atlas ridged mounted twin stick applications. 303040 or 303041.


